

Boudoir Photography Posing: 10 Poses and Client-Direction Techniques
Successful boudoir photography posing is about far more than memorising a collection of attractive positions. The photographer must be able to read the body, communicate clearly and help the person in front of the camera feel safe enough to move naturally.
This practical guide is written for photographers who want to improve their boudoir posing, client-direction skills & boudoir photography portfolio. In the accompanying video, our model demonstrates ten versatile poses that can form the basis of a complete boudoir sequence. Below, we explain what each pose can achieve, how to direct it and which details to check before pressing the shutter.
Every body is different. Treat these poses as flexible starting points rather than rules. Adapt the angle, range of movement and physical demands to suit your client’s proportions, mobility, boundaries and personal preferences.
Why client direction matters in boudoir photography
Most paying boudoir clients are not professional models. They should not be expected to arrive knowing how to position their hands, create flattering lines or hold an expression while the photographer adjusts a camera.
Confident direction removes that pressure. It allows the client to concentrate on how the experience feels while the photographer takes responsibility for the visual details.
Good direction should be:
- clear enough to understand immediately;
- specific without becoming overwhelming;
- respectful and agreed within the client’s boundaries;
- positive without making promises about how a body “should” look;
- adaptable when a position feels uncomfortable or unnatural.
Before the session, discuss the client’s preferred level of coverage, favourite features, areas they would rather not emphasise, mobility considerations and the intended mood of the photographs. Consent to a boudoir session is not blanket consent to every pose. Continue to check in, particularly before more revealing positions or physical adjustments.
A simple method for directing any boudoir pose
Build each pose from the ground upwards. Start with the feet or legs, then guide the hips and torso before refining shoulders, hands, head position and expression. Giving five instructions at once usually creates tension.
Use a simple sequence:
- Demonstrate the overall position yourself when appropriate.
- Give one short instruction at a time.
- Explain the direction of movement, not a judgement about the client’s body.
- Refine the hands, feet, hair and expression last.
- Ask whether the position feels comfortable before continuing.
Rather than saying, “That looks wrong”, try: “Bring your front shoulder slightly towards me”, or, “Relax your fingers and let your wrist soften.” The correction becomes practical and neutral.
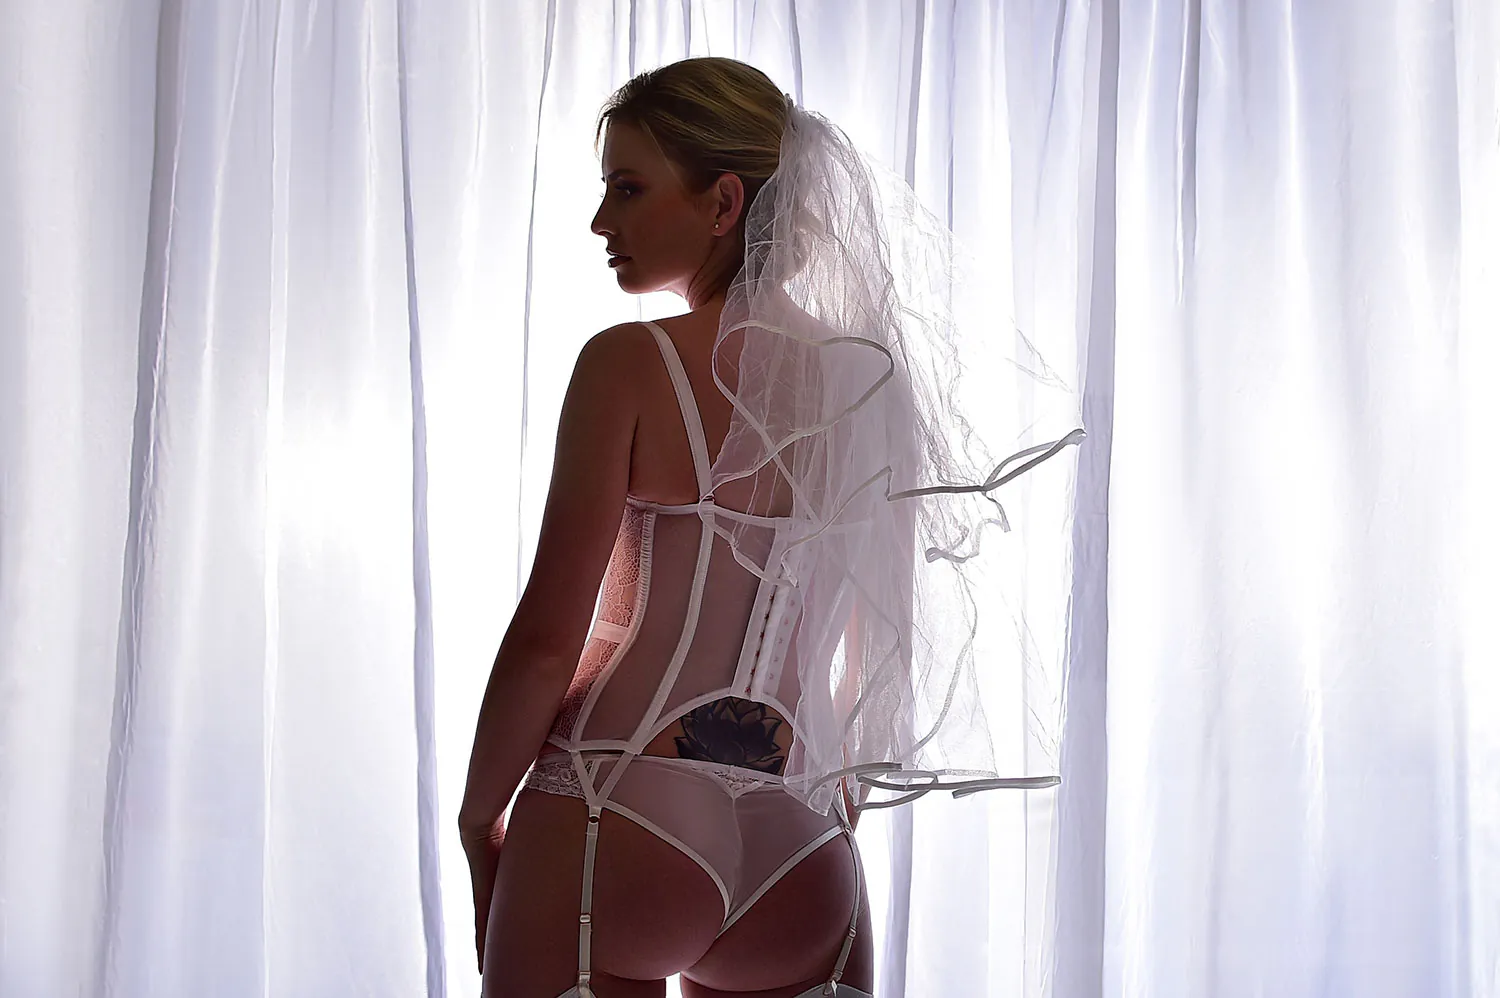
1. Back-facing standing pose
This standing pose creates a strong view of the back, waist, legs and natural body shape. It is an effective opening position because the client does not initially need to face the camera.
Ask the client to stand with their weight primarily through one leg, keeping the other knee relaxed. Turn the hips slightly rather than positioning them completely square to the camera. Lengthen through the spine and allow a small amount of space between the arms and torso.
Direction prompt: “Place most of your weight into your back leg, soften the other knee and gently turn your upper body towards the light.”
Check that the shoulders are relaxed, the hands are purposeful and garment straps sit cleanly. Capture a full-length frame, a three-quarter crop and a closer detail before changing the pose.
2. Front-facing standing pose
A front-facing pose can communicate confidence, but symmetry can make it feel static. Create shape through asymmetry: one hip higher, one knee softer and the arms at different levels.
Ask the client to place one foot slightly in front of the other and shift their weight away from the camera. Lengthen the neck and keep the elbows from pressing tightly into the waist. A hand placed lightly at the hip or through the hair can create useful negative space.
Direction prompt: “Turn one knee in slightly, lift through your chest and let one hand rest softly at your waist.”
Photograph variations looking into the lens, beyond the camera and down towards the shoulder. Small changes in gaze can transform the mood without rebuilding the pose.
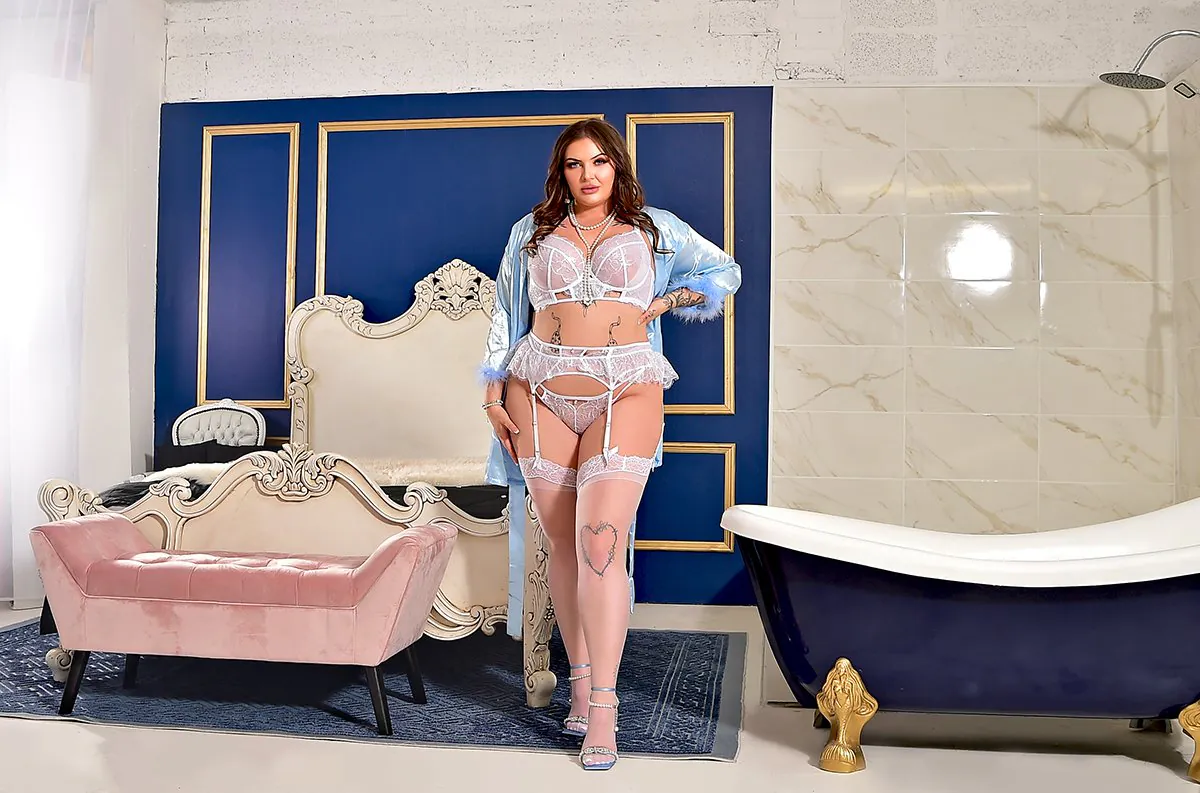
3. Angled seated pose
The angled seated pose is useful for portraits that include the face, décolletage and legs. Positioning the client diagonally to the camera generally creates more depth than sitting square-on.
Ask the client to sit towards the front edge of the chair, extend one leg and cross or angle the ankles. Encourage length through the spine rather than a rigidly arched back. Hands can rest lightly on the thigh, chair or hair.
Direction prompt: “Come towards the edge of the chair, angle your knees away from me and bring your face gently back towards the camera.”
Avoid compressing the torso or allowing both hands to become identical. Adjust your own camera height before asking the client to make an extreme movement.
4. Reverse kneeling chair pose
Kneeling on a chair produces an elegant rear-facing portrait while giving the hands a natural place to rest. It can showcase the back, hair and legs while keeping the pose relatively contained.
Confirm that the chair is stable and that kneeling is comfortable. Ask the client to rest their hands lightly on the chair back, lengthen their spine and turn their face towards the light. Never prioritise the photograph over balance or physical comfort.
Direction prompt: “Keep your hips centred, grow tall through your spine and look back towards me from your shoulder.”
Shoot from directly behind and then move slightly to either side. Watch for raised shoulders, clenched toes and hands gripping the chair.

5. Sideways seated bed pose
Sitting sideways on the bed is accessible for many first-time clients and provides an easy transition from seated to reclining photographs. It creates a clear profile through the waist and hips while allowing several arm variations.
Ask the client to sit at an angle with both legs folded comfortably to one side. Position the nearest hand for balance, then lift or extend the other arm to lengthen the torso. The client can look towards the camera, towards the window or down along the shoulder.
Direction prompt: “Let your legs fall comfortably to one side, lift through your waist and slowly reach one arm above your head.”
Encourage motion rather than a frozen arm position. Ask the client to move their fingers through their hair or slowly trace the raised arm while you photograph the transitions.
6. Reverse seated bed pose
This rear-facing position shows the back and body line while allowing the client’s face to remain visible over the shoulder. The key is creating separation between the torso, arm and waist.
Ask the client to sit facing away from the camera with their legs folded naturally. Place one hand behind them for support and the other at the hip or thigh, then guide the head back towards the light.
Direction prompt: “Press gently through your supporting hand, turn from your upper body and bring your eyes back towards me.”
Make sure the client turns from the torso as well as the neck. If the position strains the neck or lower back, reduce the turn and change your own shooting angle.
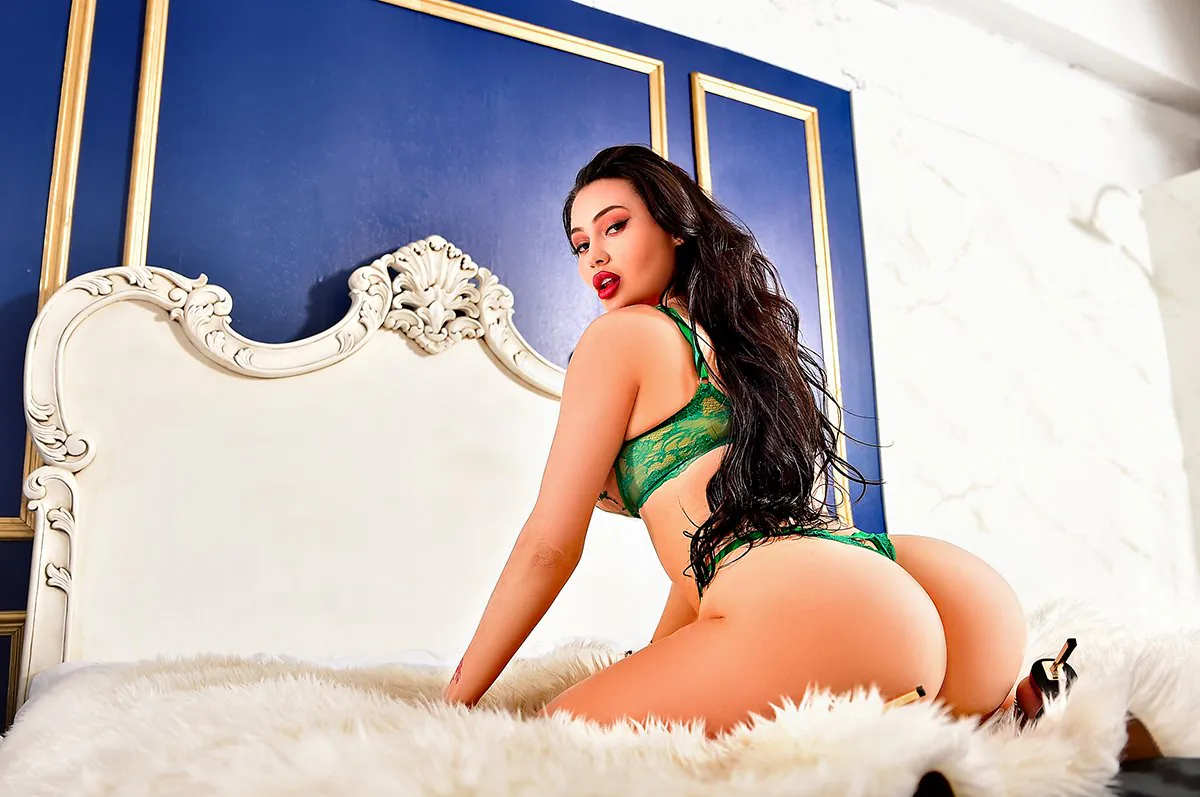
7. Prone leg-lift pose
Lying on the front with the lower legs lifted is a familiar boudoir pose that can feel playful, relaxed or intimate depending on the expression and camera position.
Ask the client to lie diagonally across the bed, bring their elbows beneath or slightly ahead of the shoulders and lift the lower legs only as far as comfortable. Keep the shoulders away from the ears and avoid pressing the chin heavily into the hands.
Direction prompt: “Slide your elbows slightly forward, relax your shoulders and slowly move your feet towards and away from each other.”
Photograph the movement between positions. Crossing and uncrossing the ankles, changing the gaze and moving one hand through the hair can provide several images from the same foundation.
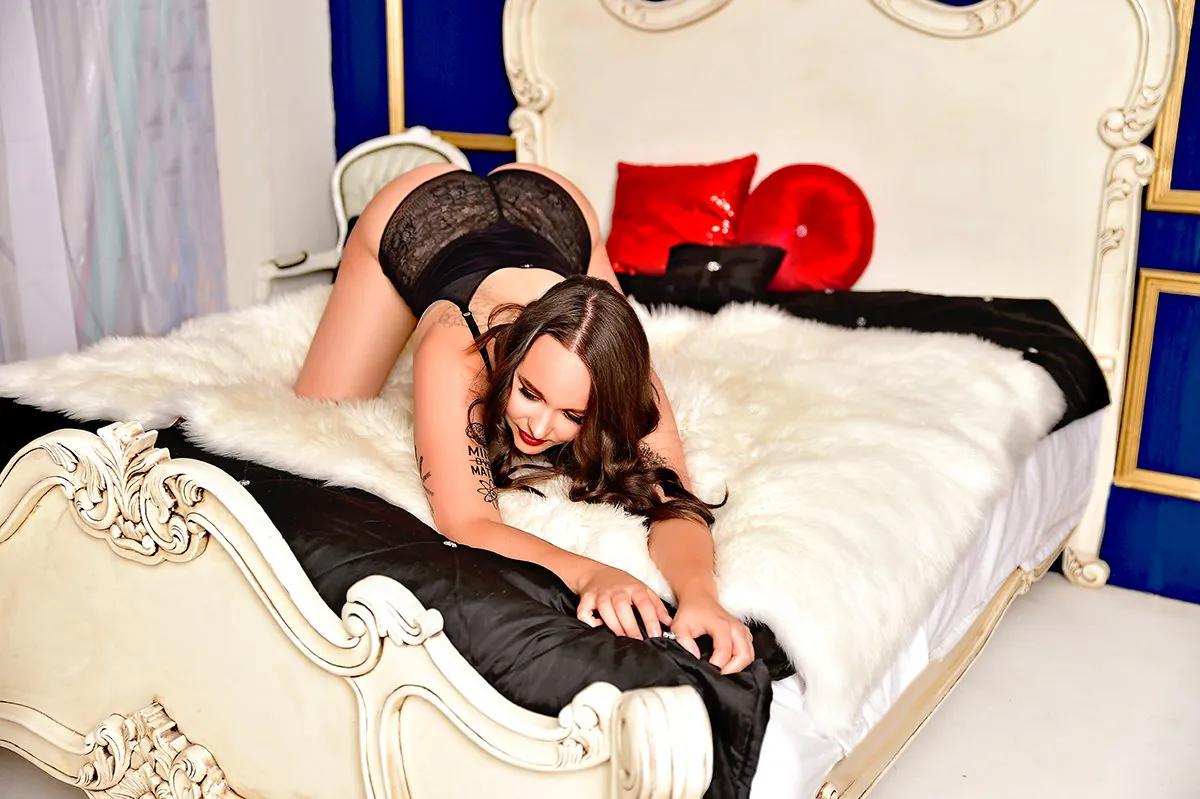
8. All-fours variation
An all-fours pose creates strong curves and can range from editorial to more overtly sensual. It requires particularly clear consent and careful direction because clients may feel more exposed in this position.
Begin with the hands or forearms supported and knees positioned comfortably. Keep the spine long before introducing a gentle change through the hips. Ask the client what range of movement feels natural and avoid forcing an exaggerated arch.
Direction prompt: “Settle your weight evenly, keep your neck long and shift your hips back only as far as feels comfortable.”
Direct attention to expression, hand placement and shoulder position – not only body shape. Offer a less revealing alternative immediately if the client appears uncertain.
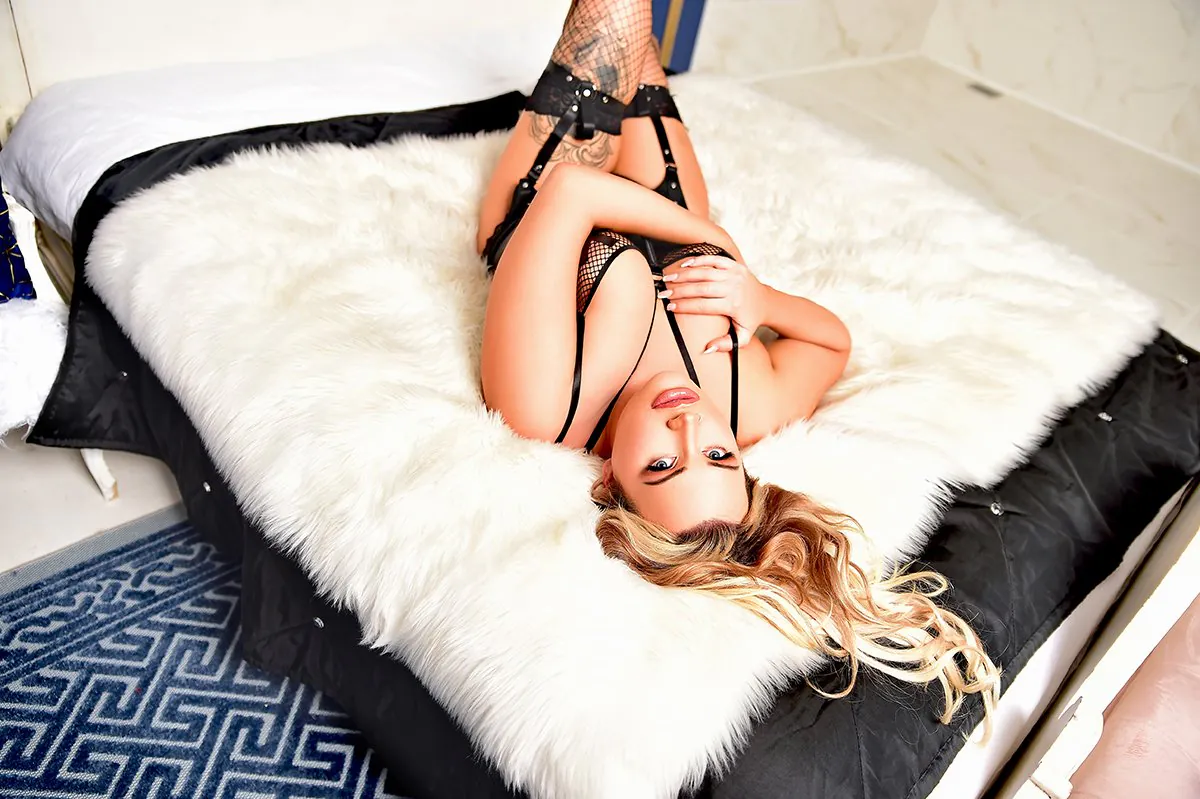
9. Reclining overhead portrait
A client lying on their back gives the photographer opportunities for full-length, overhead and close portrait compositions. Turning the face away from the camera can create a softer, more reflective mood.
Ask the client to lengthen one leg and bend or cross the other to avoid a completely flat line. Arms can rest above the head, touch the straps or frame the face. Position the hair deliberately before shooting from above.
Direction prompt: “Take a slow breath in, lengthen through your body and, as you exhale, let your shoulders and hands soften.”
Use a secure shooting position and never stand on unstable furniture. Check the edges of the frame for distorted hands or feet when using a wider lens.
10. Soft side-lying pose
Finish with a gentle side-lying pose that brings attention to the face while maintaining a flowing line through the body. This is useful when a client needs a calmer position after more physically demanding poses.
Ask the client to lie partly onto one side, extend the lower leg and soften the upper knee. Support the upper body with an elbow or forearm without allowing the shoulder to rise. The free hand can rest near the face, hair or collarbone.
Direction prompt: “Let your body settle into the bed, bring your top knee slightly forward and turn your face towards the light.”
Try eye contact, closed eyes and a gaze beyond the camera. A quieter expression often suits this position better than an exaggerated one.

Turn ten poses into a complete boudoir sequence
A strong gallery does not require dozens of unrelated positions. Each of these ten boudoir poses can produce several photographs through small, intentional variations.
For each foundation pose, consider changing:
- camera height and shooting angle;
- studio or natural lighting position
- full-length, three-quarter and detail crops;
- eye contact and direction of gaze;
- hand placement and movement;
- leg position;
- expression;
- lighting direction;
- the position of fabric, bedding or clothing.
Move logically from standing to seated, kneeling and reclining poses. This reduces repeated physical effort, helps the session flow and makes your direction feel considered rather than improvised.
Direct movement, not just fixed positions
Many natural-looking boudoir photographs happen between formal poses. Once the client understands the foundation, give them a small movement to repeat slowly: look towards the light, breathe out, trace a hand along the arm, move the fingers through the hair or shift weight from one hip to the other.
Keep your language precise. “Move naturally” is rarely useful to a nervous client. “Slowly turn your face from the window back towards me” gives them a clear action and allows you to capture genuine transitions.
Your own manner matters as much as the words. Maintain a calm pace, avoid overreacting to the back of the camera and give specific positive feedback. “That shoulder angle works beautifully – hold it while you soften your hand” is more helpful than repeatedly saying “Perfect”.

Common boudoir posing mistakes
Giving too many instructions
Build the pose in stages. If the client forgets an earlier instruction, return to it calmly rather than making them feel responsible for the photograph.
Ignoring hands and feet
Tension often appears first in fingers, wrists, toes and ankles. Check the entire frame before moving on.
Forcing the same pose onto every body
A pose should serve the client, not the photographer’s template. Change your angle, lens choice or composition before asking for uncomfortable movement.
Using negative body language
Avoid language about hiding “flaws” or fixing a body. Discuss composition, light, shape and the features the client wants to celebrate.
Touching without permission
Verbal direction and demonstration should come first. If a physical adjustment would help, explain exactly what you want to adjust and obtain clear permission before making contact.
Forgetting expression
Once the body is positioned, pause to direct the eyes, mouth, breathing and mood. A technically effective pose can still feel disconnected without an expression suited to the intended image.
Learn boudoir posing in a practical studio environment
Video and written guides can provide a useful foundation, but posing becomes intuitive through observation, practice and constructive feedback. Our hands-on boudoir photography workshop in Leicester gives photographers the opportunity to develop their posing, lighting and client-direction skills in a professional boudoir studio.
You will see how small adjustments change an image, practise communicating poses clearly and learn how to build variety without losing the client’s confidence or comfort.
FREQUENTLY ASKED QUESTIONS
What are the best boudoir poses for beginners?
Simple standing, angled seated, sideways seated and soft side-lying poses are useful starting points. They are relatively easy to direct and can produce several variations without demanding extreme flexibility.
How do you direct someone who has never modelled before?
Demonstrate the general shape when appropriate, then give one concise instruction at a time. Build from the feet or legs upwards and refine the hands and expression last. Confirm that the client remains comfortable throughout.
How many poses do you need for a boudoir photoshoot?
There is no fixed number. Ten well-directed foundation poses can create a varied gallery when photographed from different angles and combined with changes in crop, gaze, hands and expression.
Should a photographer physically position a boudoir client?
Use verbal direction and demonstration first. If physical adjustment is appropriate, explain precisely what you intend to do and ask for explicit permission. Never assume consent to touch.
How can boudoir poses look more natural?
Introduce small, repeatable movements rather than asking the client to remain completely still. Breathing, turning the head, moving a hand through the hair or slowly shifting weight can create relaxed transitions.
Can these poses be adapted for different body types?
Yes. Adjust stance width, joint angles, camera position, support and range of movement for the individual. The objective is not to make every client reproduce an identical shape, but to create a pose that feels confident, comfortable and authentic to them.