

How to Improve Your Boudoir Photography Skills: A Practical Guide
Beautiful boudoir photography can appear effortless: flattering light, confident body language and an expression captured at exactly the right moment. Behind the finished image, however, sits a combination of technical control, clear communication, careful observation and trust.
Knowing how to use a camera is only the beginning. A professional boudoir photographer must be able to direct people who may never have posed before, adapt lighting to different bodies and sets, understand boundaries, maintain privacy and produce a consistent gallery rather than one fortunate frame.
At My Beautiful Boudoir, these skills have been developed through years of photographing real clients and working across a purpose-built Leicester studio. They are also the reason other photographers attend our boudoir photography workshops: they want to observe the decisions behind the images and learn how to apply those principles to their own work.
This guide explores the core areas photographers should develop and introduces a series of more detailed resources covering posing, lighting and portfolio building. For prospective boudoir clients, it also offers a useful look behind the scenes at the experience and professional care that go into every session.
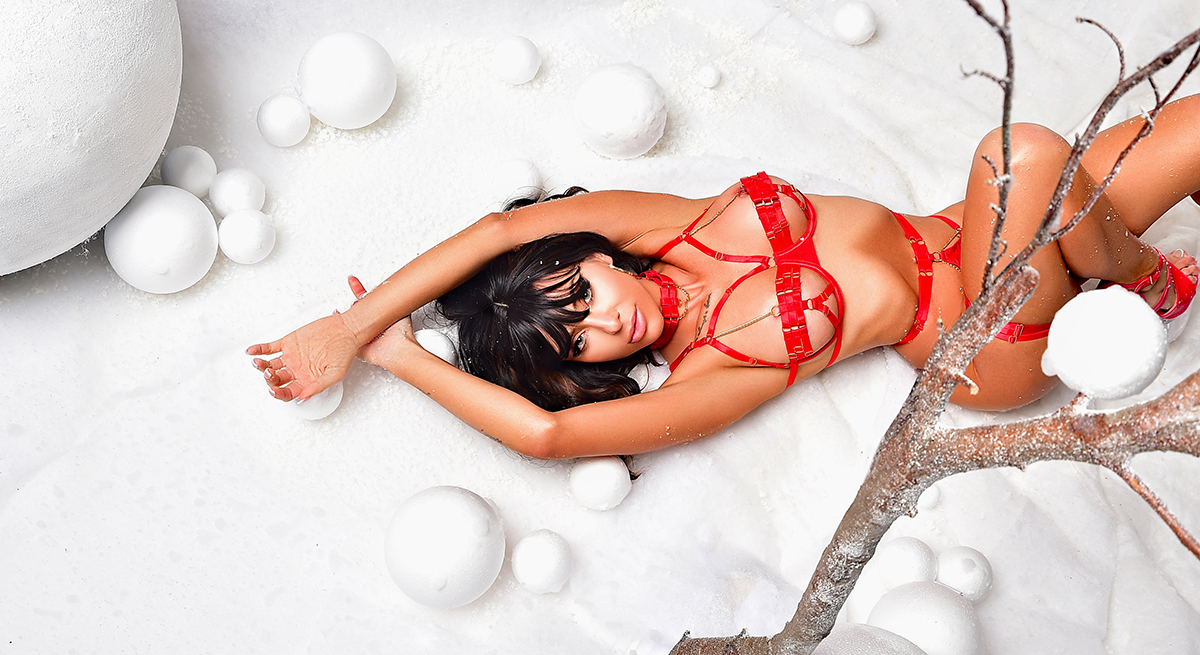
Boudoir photography is a people skill first
The camera records the photograph, but the photographer creates the conditions in which it can happen.
Most boudoir clients are not professional models. They may arrive feeling excited, nervous, self-conscious or uncertain about what will be expected of them. A photographer who understands exposure but cannot establish trust will struggle to create relaxed, connected portraits.
Professional boudoir photography therefore requires the ability to:
- explain what will happen before the session begins;
- listen to the client’s preferences and concerns;
- establish clear boundaries and levels of coverage;
- provide specific posing guidance;
- notice physical discomfort or uncertainty;
- adjust the creative plan when something is not working;
- offer encouragement without making judgements about the client’s body;
- maintain discretion before, during and after the session.
These are not additional “soft skills” placed around the photography. They directly influence expression, posture, movement and the quality of the final photographs.
Start with trust, consent and clear expectations
Before discussing lenses or light modifiers, establish how the session will be conducted. Boudoir involves personal imagery, and professionalism must be visible in the process as well as the portfolio.
A useful pre-shoot conversation should cover:
- what the client hopes to create;
- preferred styles and levels of coverage;
- photographs they definitely do or do not want;
- features they enjoy celebrating;
- any mobility or comfort considerations;
- who will be present during the session;
- privacy, image storage and publication choices;
- how posing adjustments will be communicated.
Consent to attend a boudoir photoshoot is not automatic consent to every pose, level of undress or use of the finished images. Continue to check in throughout the session, particularly when changing wardrobe, introducing a more revealing position or moving into a new style of photograph.
Physical adjustments should never be assumed. Demonstrate the movement or give verbal direction first. If touching a garment, hand or shoulder would help, explain what you would like to adjust and ask permission clearly.
This creates a safer working environment and helps the client concentrate on the experience rather than wondering what will happen next.


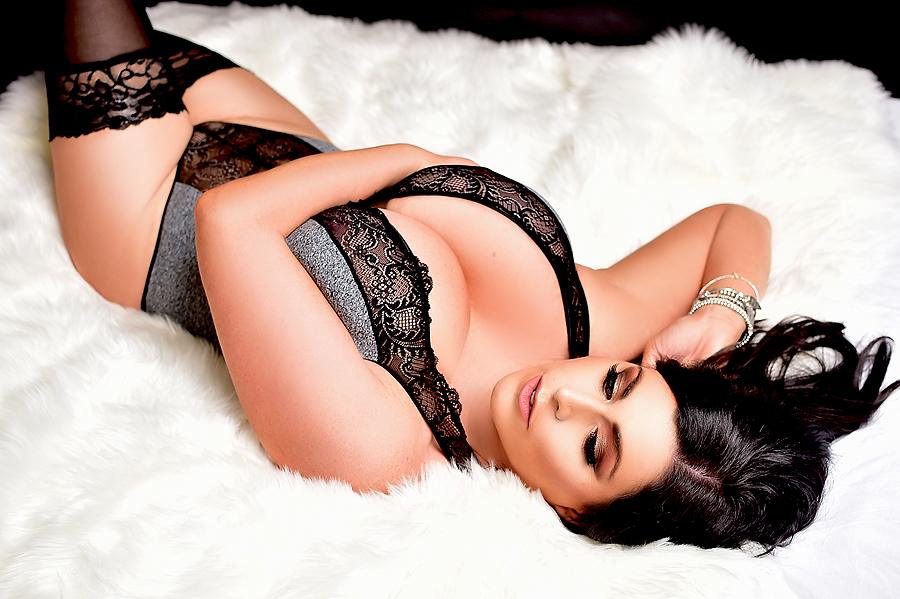
Learn to direct, not simply request a pose
“Stand over there and look sexy” is not meaningful direction. It gives the client an emotional outcome without explaining how to achieve it.
Strong client direction breaks the pose into manageable actions. Start with the feet or legs, then guide the hips and torso before refining the shoulders, hands, head position and expression.
For example:
Place your weight into your back leg, soften the front knee and turn your upper body slightly towards the light.
This gives the client a sequence they can follow. Once the foundation is secure, you can make smaller refinements:
Relax your fingers, lengthen through your neck and slowly bring your eyes back towards the camera.
Give one or two instructions at a time. If you deliver every adjustment at once, a nervous client may become more focused on remembering directions than connecting with the photograph.
Demonstrate where appropriate
Photographers do not need to reproduce every pose perfectly, but demonstrating the general shape can remove ambiguity. It also shows that you are prepared to participate in the process rather than expecting the client to solve the pose alone.
Use neutral, practical corrections
Avoid saying that something looks wrong or that a pose is needed to hide a perceived flaw. Describe light, shape and movement instead:
- “Turn your shoulder slightly away from the camera.”
- “Create a little space between your arm and waist.”
- “Bring your chin forward and gently down.”
- “Let your wrist soften.”
The adjustment remains useful without introducing negative body language.
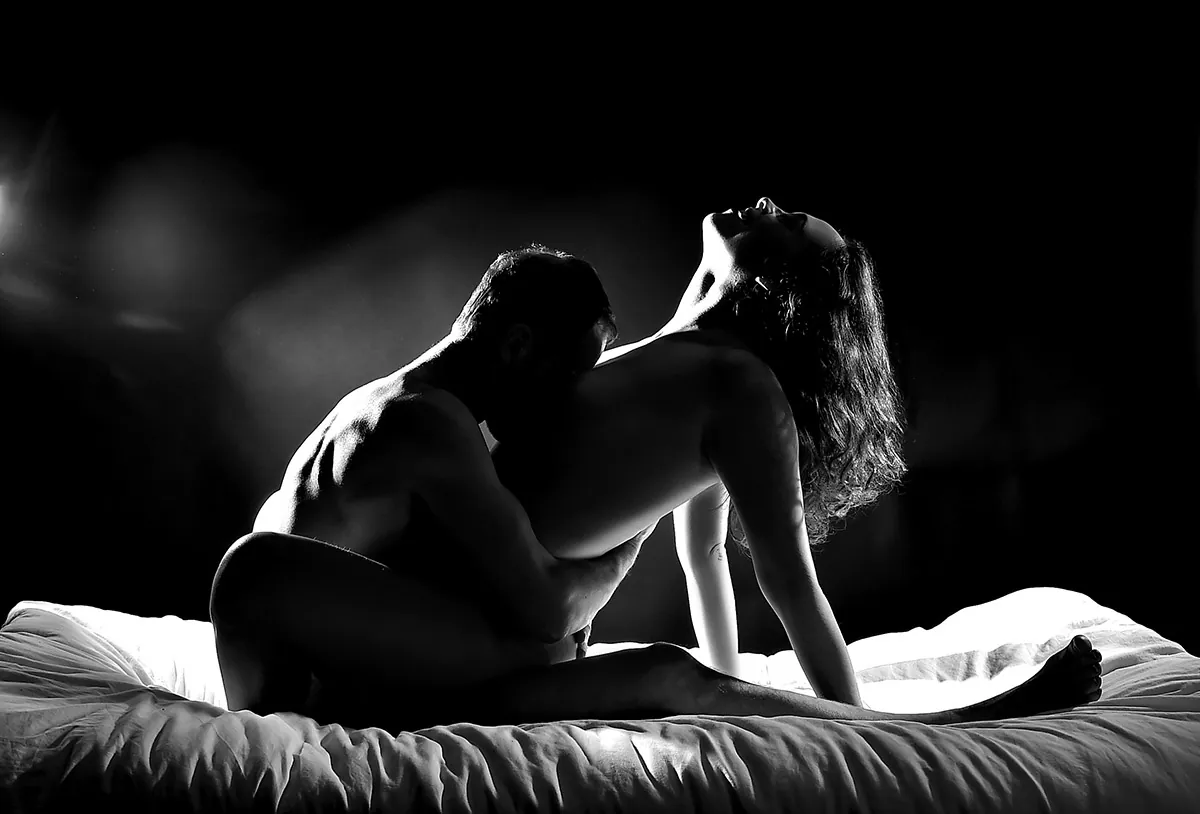
Direct movement between positions
Some of the most natural photographs appear during transitions. Ask the client to move slowly through a defined action: turn towards the window, trace a hand along the arm, breathe out, shift weight between the hips or move fingers through the hair.
“Move naturally” is rarely helpful to someone who feels nervous. A small, repeatable action creates genuine movement while keeping the direction clear.
Our detailed boudoir photography posing and client-direction guide demonstrates ten foundation poses, with practical prompts and refinements photographers can use throughout a session.
Understand how pose, camera angle and light work together
A pose can change dramatically when photographed from a lower height, cropped more closely or turned a few degrees relative to the light.
Before asking the client to make an extreme adjustment, consider whether you should move instead.
Ask yourself:
- Is the camera height supporting the intended body line?
- Is the closest part of the body being exaggerated by the lens or angle?
- Are limbs merging because of my position?
- Does the light define the pose or flatten it?
- Would a small turn create better separation?
- Can I create another strong frame without rebuilding the pose?
Stay with each foundation pose long enough to explore it. Capture a full-length image, a three-quarter portrait and a close detail. Change the gaze, hands or expression. Move to either side before moving the client into an entirely new position.
This produces a more varied gallery and reduces the physical demand placed on the client.
Develop an eye for light – not a dependence on equipment
Professional boudoir lighting is not defined by how many lights are used. It is defined by whether the highlights and shadows support the subject, mood and set.
Photographers should learn to recognise four basic qualities:
- Direction: where the light travels from;
- Size: how large the source appears relative to the client;
- Distance: how the source’s placement affects softness and fall-off;
- Contrast: the relationship between illuminated and shadow areas.
Once you can observe these characteristics, you can create intentional portraits with a window, one softbox or a more controlled low-key set-up.
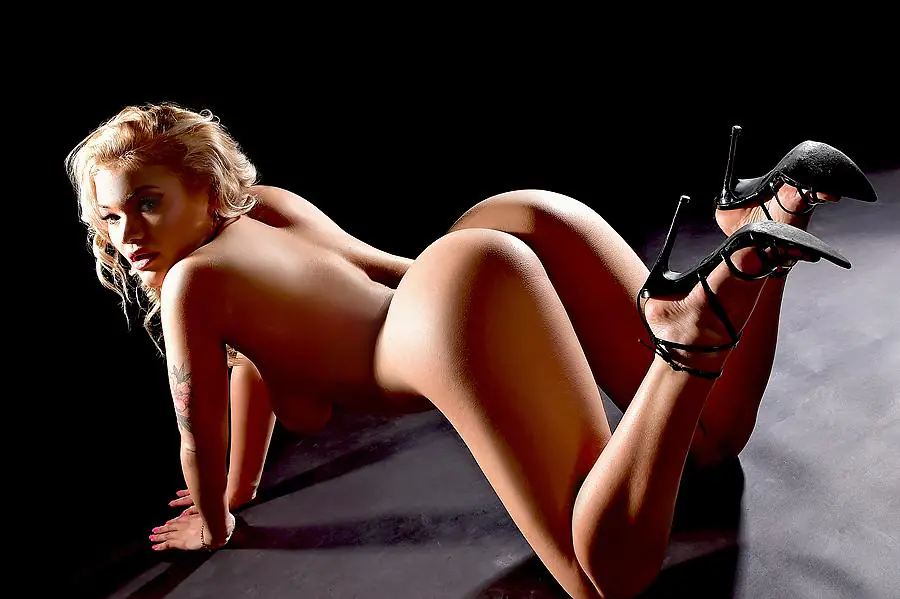
Natural light and studio light serve different purposes
Window light can be soft, intimate and simple to work with. A large window behaves like a broad source, particularly when direct sunlight is diffused through sheer curtains. Turning the client approximately 45 degrees towards it often produces gentle modelling across the face and body.
However, natural light changes with the weather, season and time. A photographer working professionally needs to recognise when the available light is no longer supporting the promised result.
Studio lighting provides consistency. A single light with a suitable softbox can create:
- soft portraiture;
- directional side light;
- backlighting;
- silhouettes;
- dark-and-moody imagery.
The aim is not to declare one source superior. It is to choose deliberately and reproduce the result when a client books because of it.
Our guide to natural light versus studio lighting for boudoir photography covers window light, one-light set-ups, backlighting, silhouettes and dark-and-moody lighting, supported by simplified lighting plans.
Create mood through intention – not underexposure
Dark-and-moody boudoir photography is not simply a dark exposure. It uses selective illumination to reveal important areas while allowing others to fall into shadow.
Move the client away from the background, control light spill and turn the face or body until the source traces the intended features. Preserve meaningful highlights rather than lifting every shadow during editing.
Similarly, a bright and airy image should still have direction and shape. Overexposing a window does not automatically create softness, and filling every shadow can leave the body looking flat.
Choose the mood first, then use light, pose, wardrobe, set and expression to support it.
Build a complete gallery – not one impressive photograph
A potential client needs confidence that you can deliver more than a single hero image. Your workflow should create variety and consistency across an entire session.
For each scene, consider capturing:
- a wider establishing image;
- a full-length pose;
- a three-quarter portrait;
- a close expression;
- a wardrobe or body detail;
- a different gaze or movement;
- vertical and horizontal compositions where useful.
This does not mean supplying every frame. It means photographing with the final collection in mind.
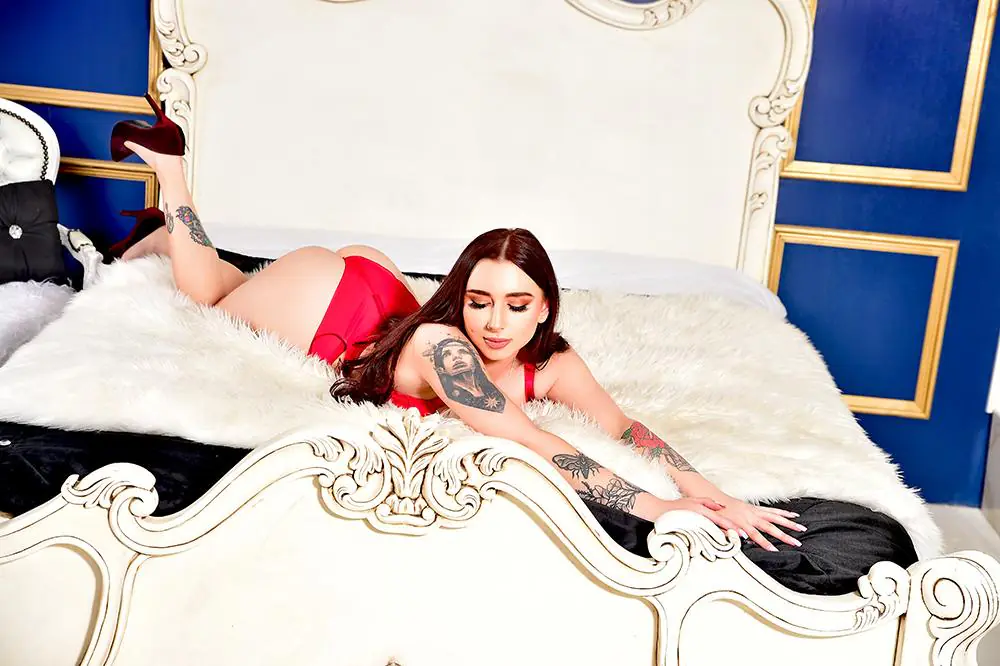
Plan the session so that standing positions flow into seated, kneeling and reclining poses. Photograph several useful variations before changing the lighting or set. A considered sequence creates more variety with less disruption.
Build a portfolio that attracts the work you want
A boudoir portfolio is not merely an archive of favourite photographs. It communicates what prospective clients can expect and influences the enquiries you receive.
If you want to photograph elegant bridal boudoir, your portfolio must demonstrate it. If you welcome women, men and couples, each audience should see appropriate evidence. If your work is body-inclusive, the gallery should reflect more than one professional model or body type.
A strong portfolio balances:
- a recognisable photographic style;
- varied poses and crops;
- consistent editing;
- different lighting approaches;
- relatable subjects;
- clear service positioning;
- permission for every public image.
Create portfolio shoots to fill specific gaps rather than simply generating more content. Write a brief, choose the right model or participant, agree usage in advance and produce work that resembles the service you intend to sell.
Our full guide to building a professional boudoir photography portfolio covers purposeful test shoots, model calls, styling, selection, privacy, permissions and presenting a cohesive gallery.
Protect privacy as carefully as image quality
Boudoir clients may be happy to create photographs while wanting every image to remain private. That choice must be respected.
Copyright ownership, permission to take a photograph and permission to use someone’s likeness in marketing are separate considerations. Use appropriate written agreements and obtain professional legal guidance for your own jurisdiction and business.
Offer clear image-use choices rather than treating publication as the default. A client may permit:
- selected identifiable photographs;
- anonymous crops only;
- images without their face;
- private portfolio viewing but not public social media;
- no promotional use whatsoever.
Do not assume permission because a client enjoyed the session, shared a photograph personally or agreed verbally on the day. Trust is far more valuable than additional content.
For prospective clients reading this article, this is also why choosing an experienced professional boudoir photographer matters. The quality of the final photograph is only one part of a professional service; how your boundaries and images are handled matters just as much.
Refine your editing without removing the person
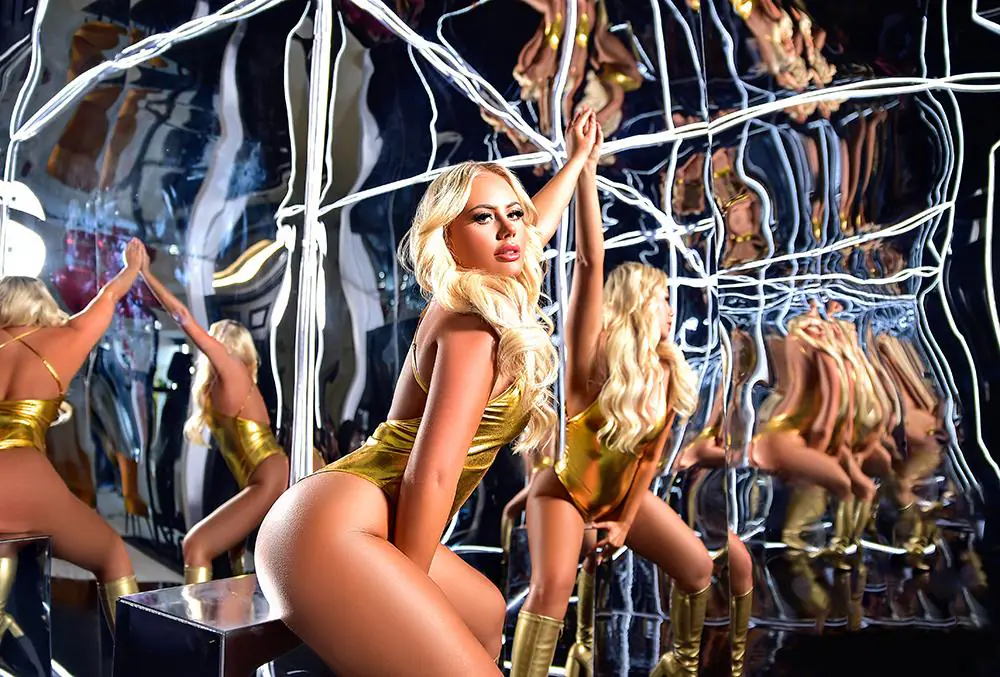
Retouching should polish the photograph while preserving believable texture and identity. Consistency in skin tone, contrast, crop and colour is more important than chasing every editing trend.
Create a repeatable workflow:
- correct exposure and white balance;
- establish the intended contrast and colour;
- remove temporary distractions where appropriate;
- refine skin without eliminating all texture;
- check garment edges, background distractions and crop;
- compare the image with the rest of the gallery;
- export consistently for print and digital use.
Avoid relying on retouching to repair problems that could have been solved through light, pose, wardrobe or camera position. The more intentional the capture, the more natural the finished result can remain.
Study your own work constructively
Improvement requires more than taking additional photographs. Review complete sessions and identify patterns.
Ask:
- Which poses consistently feel confident?
- Where do hands or feet become tense?
- Are certain lighting conditions producing unreliable results?
- Does the gallery contain enough expression and crop variety?
- Are clients receiving the style shown in the portfolio?
- Which instructions create an immediate improvement?
- Where does the session slow down or lose energy?
Keep notes after each shoot. A short record of what worked, what changed and what you would repeat can be more valuable than collecting another list of camera settings.
Seek critique from photographers who understand portraiture, client experience and the specific sensitivities of boudoir. Feedback should explain why an image succeeds or fails rather than offering only personal taste.
Practise with a purpose
Test shoots are most useful when they answer a defined question. Instead of arranging an unspecific session, decide what you need to practise:
- directing someone with limited modelling experience;
- creating ten variations from one pose;
- controlling window light with curtains and reflectors;
- producing a complete gallery with one studio light;
- photographing different skin tones consistently;
- creating a silhouette with a clear body outline;
- maintaining detail in dark lingerie against a dark set;
- moving efficiently through standing, seated and reclining positions.
Set one or two measurable objectives and review the results afterwards. Purposeful practice develops transferable skill; random experimentation may produce interesting images without improving consistency.
Why photographers learn inside a working boudoir studio
Articles, videos and lighting diagrams provide a valuable foundation. Practical training adds something different: the ability to observe how a small adjustment changes the photograph in real time.
Inside a working studio, photographers can see:
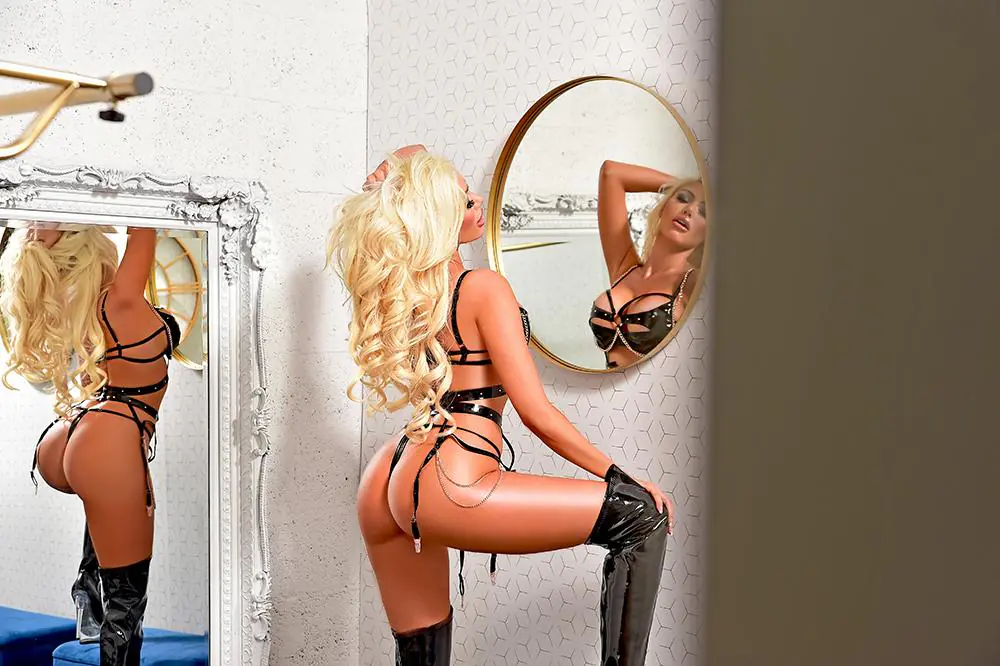
- how sets influence light and camera position;
- how a pose is built and refined;
- how direction changes with the person and outfit;
- how one light can produce several moods;
- how to maintain communication while checking technical details;
- how to create portfolio variety without constantly rebuilding the scene.
Our established boudoir photography workshop in Leicester brings these skills together in a practical environment. It is designed for photographers who want to improve their approach to posing, lighting, client direction and portfolio creation – not simply collect photographs of a model.
The studio provides varied spaces in which to explore different techniques, while guided practice helps photographers understand why a set-up works and how to adapt it later.
What our training says to prospective boudoir clients
Although this guide is written primarily for photographers, the fact that other professionals choose to learn with us offers useful reassurance to anyone considering their own boudoir session.
It reflects the experience behind:
- clear posing guidance for people who have never modelled;
- deliberate lighting suited to the individual and intended mood;
- a structured, professionally managed session;
- knowledge of how to create variety across a full gallery;
- respect for consent, comfort and privacy;
- consistent presentation from capture through to retouching.
You are not expected to arrive knowing how to stand, where to look or what to do with your hands. The photographer takes responsibility for guiding those details while adapting the session to you.
Frequently asked questions
What skills does a boudoir photographer need?
A boudoir photographer needs technical camera and lighting knowledge, but also clear client direction, posing, communication, consent awareness, privacy management, styling judgement and the ability to produce a consistent gallery.
How can I improve my boudoir photography?
Practise with a defined objective, review complete sessions, improve one-light control, develop clear posing prompts and seek constructive feedback. Study how light, camera angle and body position affect one another rather than treating them as separate skills.
Do clients need to know how to pose for boudoir photographs?
No. Most clients are not professional models. The photographer should demonstrate or explain positions clearly, build each pose in stages and adapt it to the client’s comfort and mobility.
Is natural light or studio lighting better for boudoir photography?
Neither is universally better. Window light can create a soft and intimate atmosphere, while studio lighting provides greater control and consistency. A skilled photographer should understand when each source supports the intended result.
How many lights are needed for professional boudoir photography?
Many professional looks can be created with one carefully positioned light and an appropriate modifier. Learning to shape one source is often more valuable than adding several lights without a clear purpose.
How do I build my first boudoir photography portfolio?
Define the clients and style you want to attract, identify gaps, plan purposeful shoots and agree public image use before photographing. Select a smaller group of consistent images rather than displaying every successful frame.
Is a model release important for boudoir photography?
Written permission for intended image use is an important professional consideration, particularly with sensitive personal imagery. Requirements differ by jurisdiction, so photographers should obtain appropriate legal advice and use agreements suited to their business.
What should I expect from a boudoir photography workshop?
A useful practical workshop should help you understand how posing, lighting and client direction work together. Look for guided shooting, opportunities to ask questions and explanations that help you reproduce the techniques independently.
Can beginners attend a boudoir photography workshop?
Suitability depends on the individual workshop. Photographers should check the expected level of camera knowledge, equipment requirements and learning outcomes before booking.
Why is client direction so important in boudoir photography?
Clear direction removes pressure from the client, improves body language and creates a smoother session. It allows people without modelling experience to concentrate on the moment while the photographer manages the visual details.
Continue developing your craft
Boudoir photography is learned through a combination of study, observation and thoughtful practice. Camera settings matter, but they cannot replace the ability to see light, guide another person and create an environment in which they feel respected and confident.
Begin with the area that currently limits your work most. Strengthen your direction, simplify your lighting or review whether your portfolio represents the sessions you want to book. Then put the principle into practice until it becomes part of a repeatable process.
If you are ready to bring those skills together in a professional studio, explore our hands-on boudoir photography workshop in Leicester and discover how we approach posing, light, communication and portfolio-ready imagery behind the lens.
